I was building a small Remote Control for my RC toys with the help of a ESP32. This Microcontroller is the perfect choice because
– it supports enough analog input pins (we need at least 4)
– We can use Bluetooth or UDP as Communication Protocol out of the box
– It can be programmed with the Arduino IDE – so this is pretty simple to use.
I used the following components
Joystick
I am using the X2K2 Joystick from www.YwRobot.net as my input device:
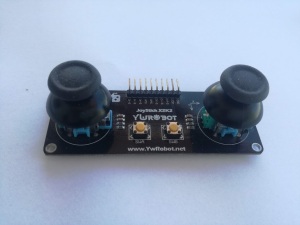
If the device’s VCC is powered with 3V we can use the analog read from the ESP32 to get the actual position. Here is the overview of all the pins mapped to the corresponding function:
- VCC <- 3.3V
- GND <- GND
- S-X1 (Throttle)
- S-Y1 (Rudder)
- S-K1 (Aux2)
- SWA (Gear)
- SWB (Aux1)
- S-X2 (Elevator)
- S-Y2 (Aileron)
- S-K2 (Aux3)
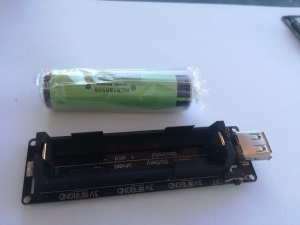
Power Supply
I am using a 18650 Battery together with a charger board as power source.
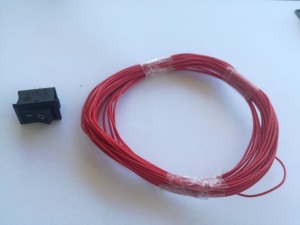
Switch
To be able to switch the device on and off I add an additional switch:
ESP32 and Jumper Cables
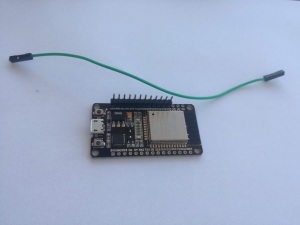
The ESP32 will be connected to the Joystick with simple Dupont Jumper Cables. I will use the following connections:
D13: Throttle -> S-X1
D12: Aileron -> S-Y2
D14: Elevator -> S-X2
D27: Rudder -> S-Y1
D26: Gear -> SWA
D25: Aux1 -> SWB
D33: Aux2 -> S-K1
D32: Aux3 -> S-K2
And I need to connect it to the power:
VIN: -> 5V (of Power Supply)
GND: -> GND (of Power Supply)
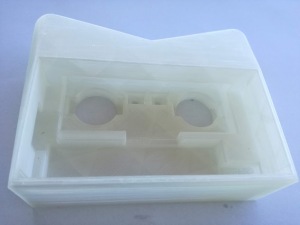
3D Printed Case
The case was modelled in OpenSCAD and is available on Thingiverse
Software
The ESP32 will be programmed with the Arduino IDE. You can write your own Sketch and have it do whatever you want: I used the Remote Control Sketch using Bluetooth from my last post.


0 Comments